Eliminating the Front Door (SSH Hardening)
A standard VPS deployment is only the beginning. To ensure your digital sovereignty, following a Self-Hosted Security Checklist is essential for true infrastructure mastery. Shifting from a ‘default install’ mindset to a hardened posture ensures your data remains private and your services stay online against an ever-evolving threat landscape.
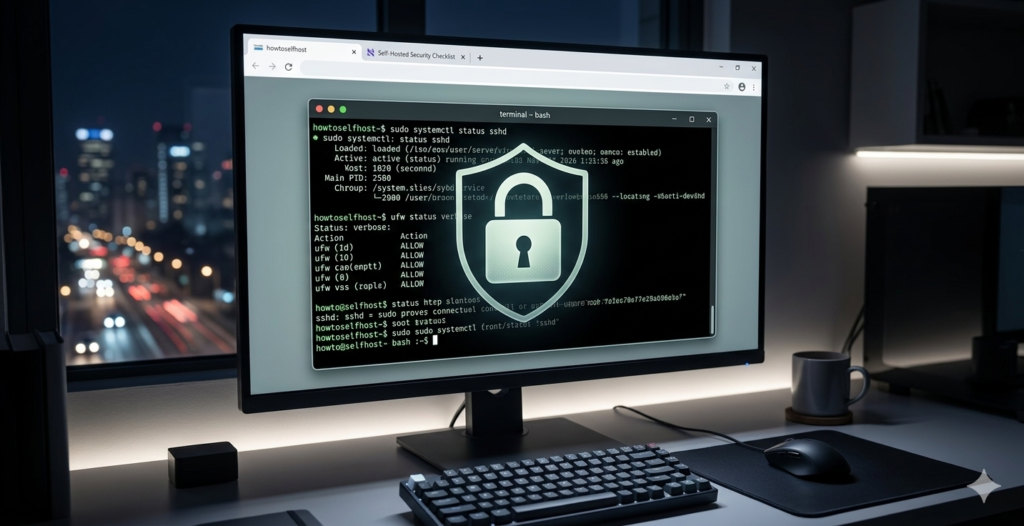
The first step in hardening any Linux environment is securing remote access. Relying on password authentication is a risk no professional should take. By implementing SSH Key-based authentication and disabling root login, you effectively close the door on 99% of automated brute-force attacks.
A default server is a vulnerable server. True self-hosting mastery starts with transforming your infrastructure from a target into an invisible fortress.
Digital Sovereignty
The Logic of Least Privilege (Docker & User Safety)
Security and Productivity go hand-in-hand when you limit the “blast radius” of a potential breach. Whether you are running Django apps or WordPress, never run your services as the Root user. Implementing Docker namespaces and non-privileged users ensures that even if a container is compromised, your host system remains isolated and secure.
Network Stealth with Reverse Proxies & VPNs
Not every service needs to be public. A professional-grade setup uses a Reverse Proxy (like Nginx or Traefik) to handle SSL termination via Let’s Encrypt. For internal tools, the ultimate hardening strategy is Network Stealth: keeping your dashboards behind a WireGuard or Tailscale VPN so they don’t even exist to the public internet.
### Quick Summary: Your Self-Hosted Security Checklist
- SSH Hardening: Disable root login and use keys.
- Least Privilege: Never run Docker containers as root.
- Network Stealth: Use VPNs for internal dashboards.
- Active Monitoring: Patch regularly and check logs.